Configure a backend including a REST API with Strapi


As we discussed in the last post, we're on a little journey to build a Next.js-based to-do app with a Strapi backend. In today's post, we will start the actual work: Let's set up Strapi from scratch, configure a data model and make the to-do API accessible.
Prerequisites
To follow along, you should have some basic JavaScript development experience and have yarn installed (you can
use npm commands instead, but we won't document them here).
If that's the case, you are good to go. Let's dive in!
Basic Setup
We'll go ahead and start by bootstrapping a new Strapi project using
yarn create. What we'll
get is a Strapi application inside the to-do-backend folder that will be
started on Strapi's default 1337 port:
$ yarn create strapi-app to-do-backend --quickstart
All dependencies are installed now and Strapi starts right away. It should also open a new browser tab once up and running. If not, open http://localhost:1337/admin.
If you ever want to start your Strapi project again, you can run
$ yarn develop
Create a user account.
You will be greeted by a screen asking you to create an admin user account for your fresh Strapi system. Just follow along, entering a first and last name, an email address and a password:
Designing the content model
Now that we have Strapi up and running, let's do the actual work and define the data model. We'll use Strapi's admin UI for that. Let's think for a moment: What do we expect from a data model?
- Mainly, we'll need a list of to-dos.
- Each to-do has a title, a progress status (open / done), a due date, and an assignee.
- So, on top of the to-do list, we'll also need a list of users (for now, we'll limit ourselves to simply assigning users to to-dos in the admin UI and postpone implementing authentication for those users to a later stage).
Creating the content model
In Strapi, content is organized in collections. Each collection has a content model defined for it, describing which data fields exist for the collection.
Let's go ahead and create the content model. First, open the "Content-Types Builder" from the Strapi sidebar. You'll see a list of your collections and, for each collection, its fields:
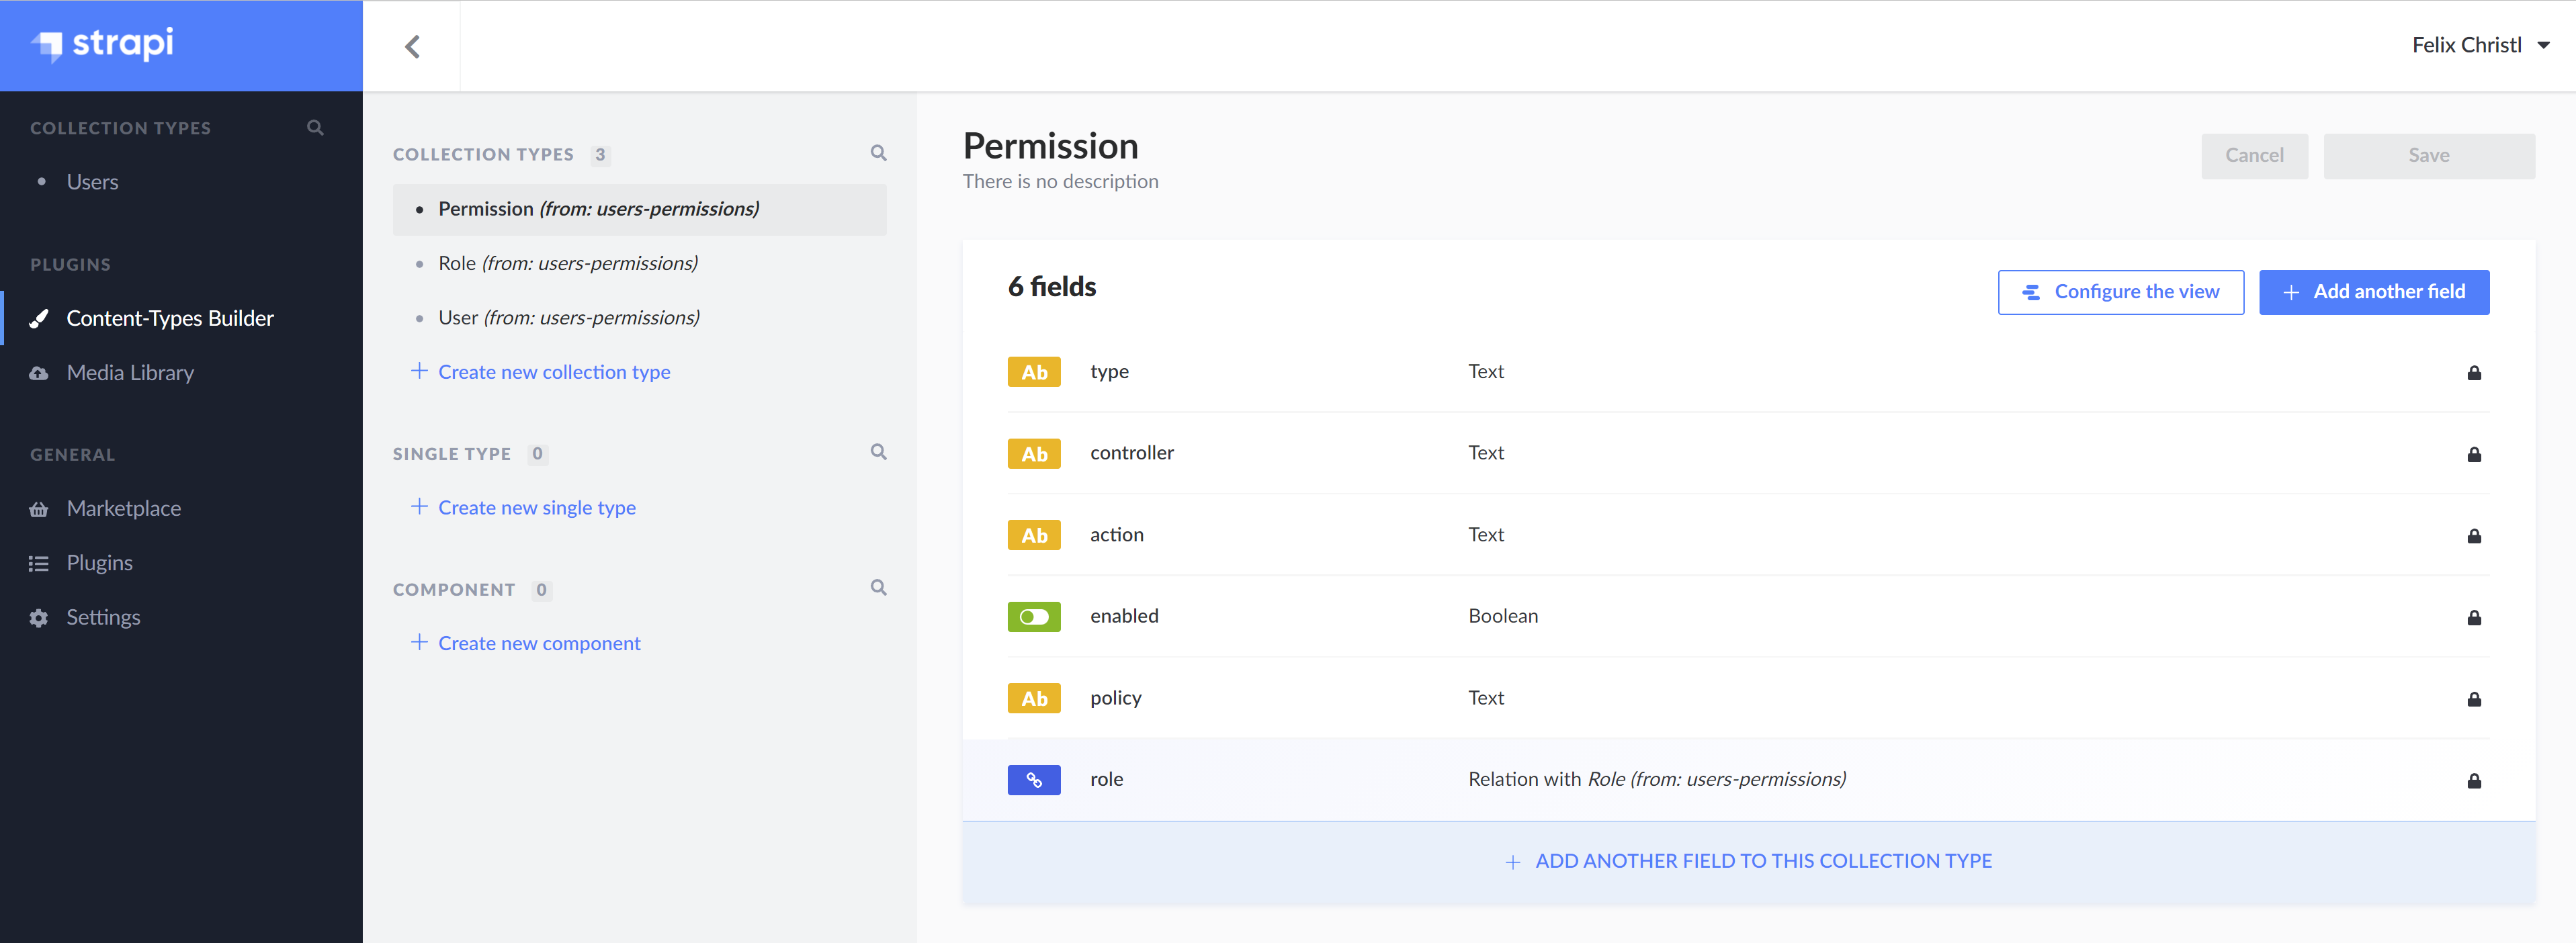
In the "Collection Types" list in the sidebar, click "Create new collection type".
Strapi will ask you for the name of the collection type. Let's call it To Do:
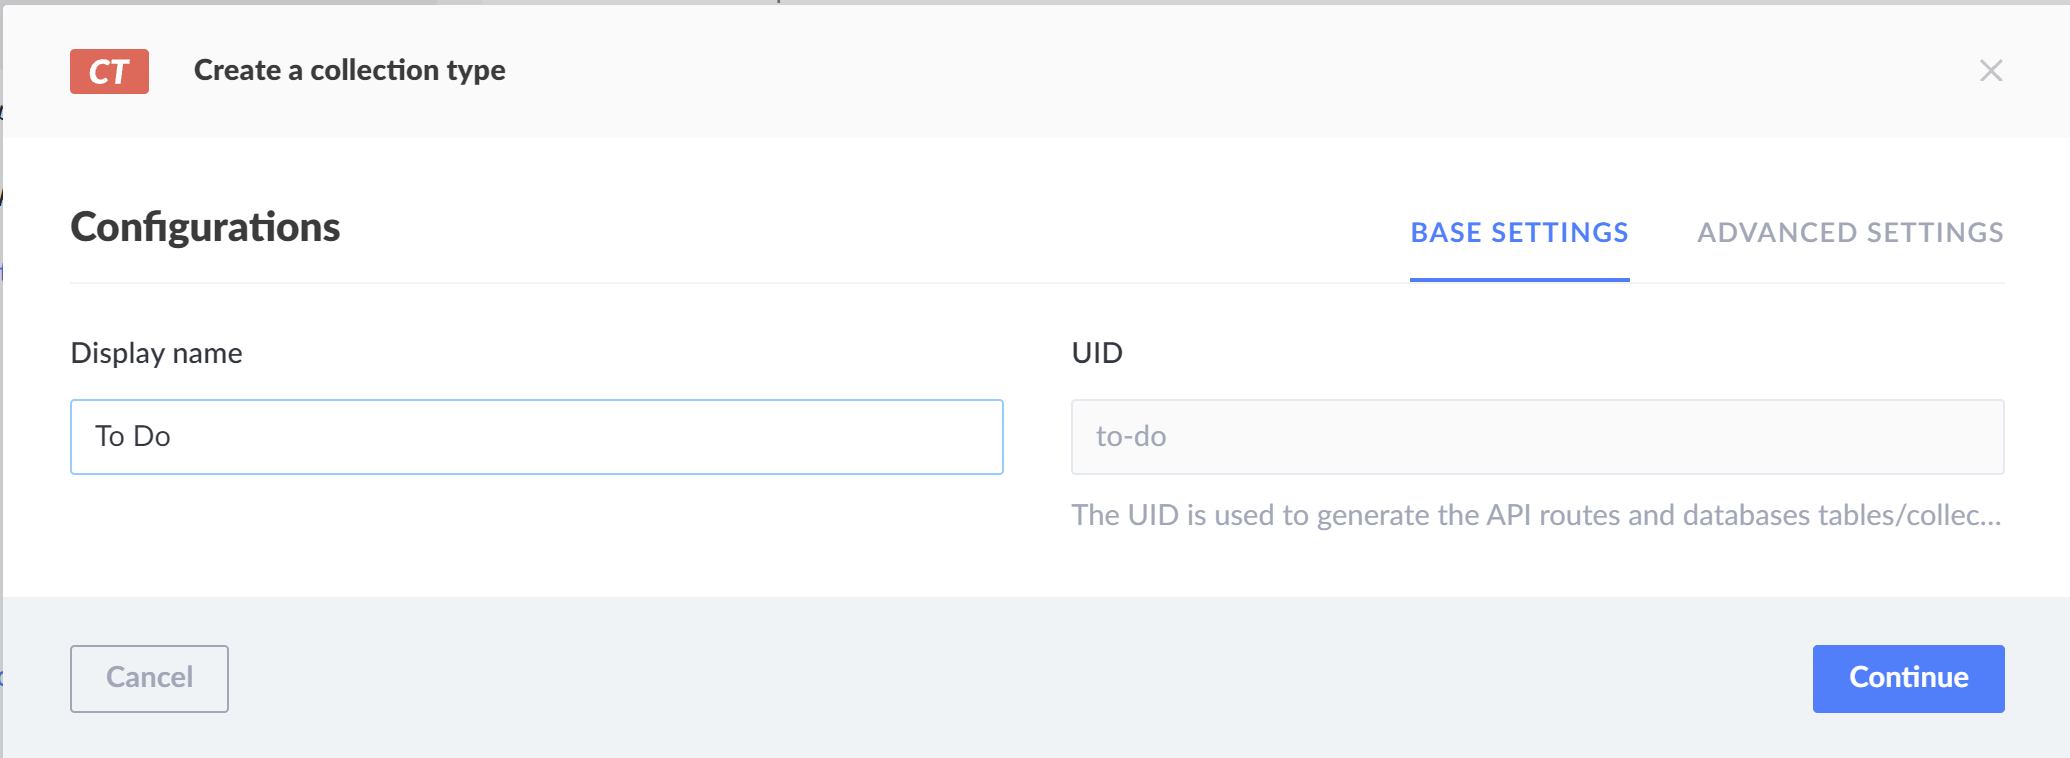
Click "Continue". Strapi will let you create fields for your new content type.
The "Name" field
Let's start by creating a "Text" field that will contain the name of a to-do. Call the field Name:
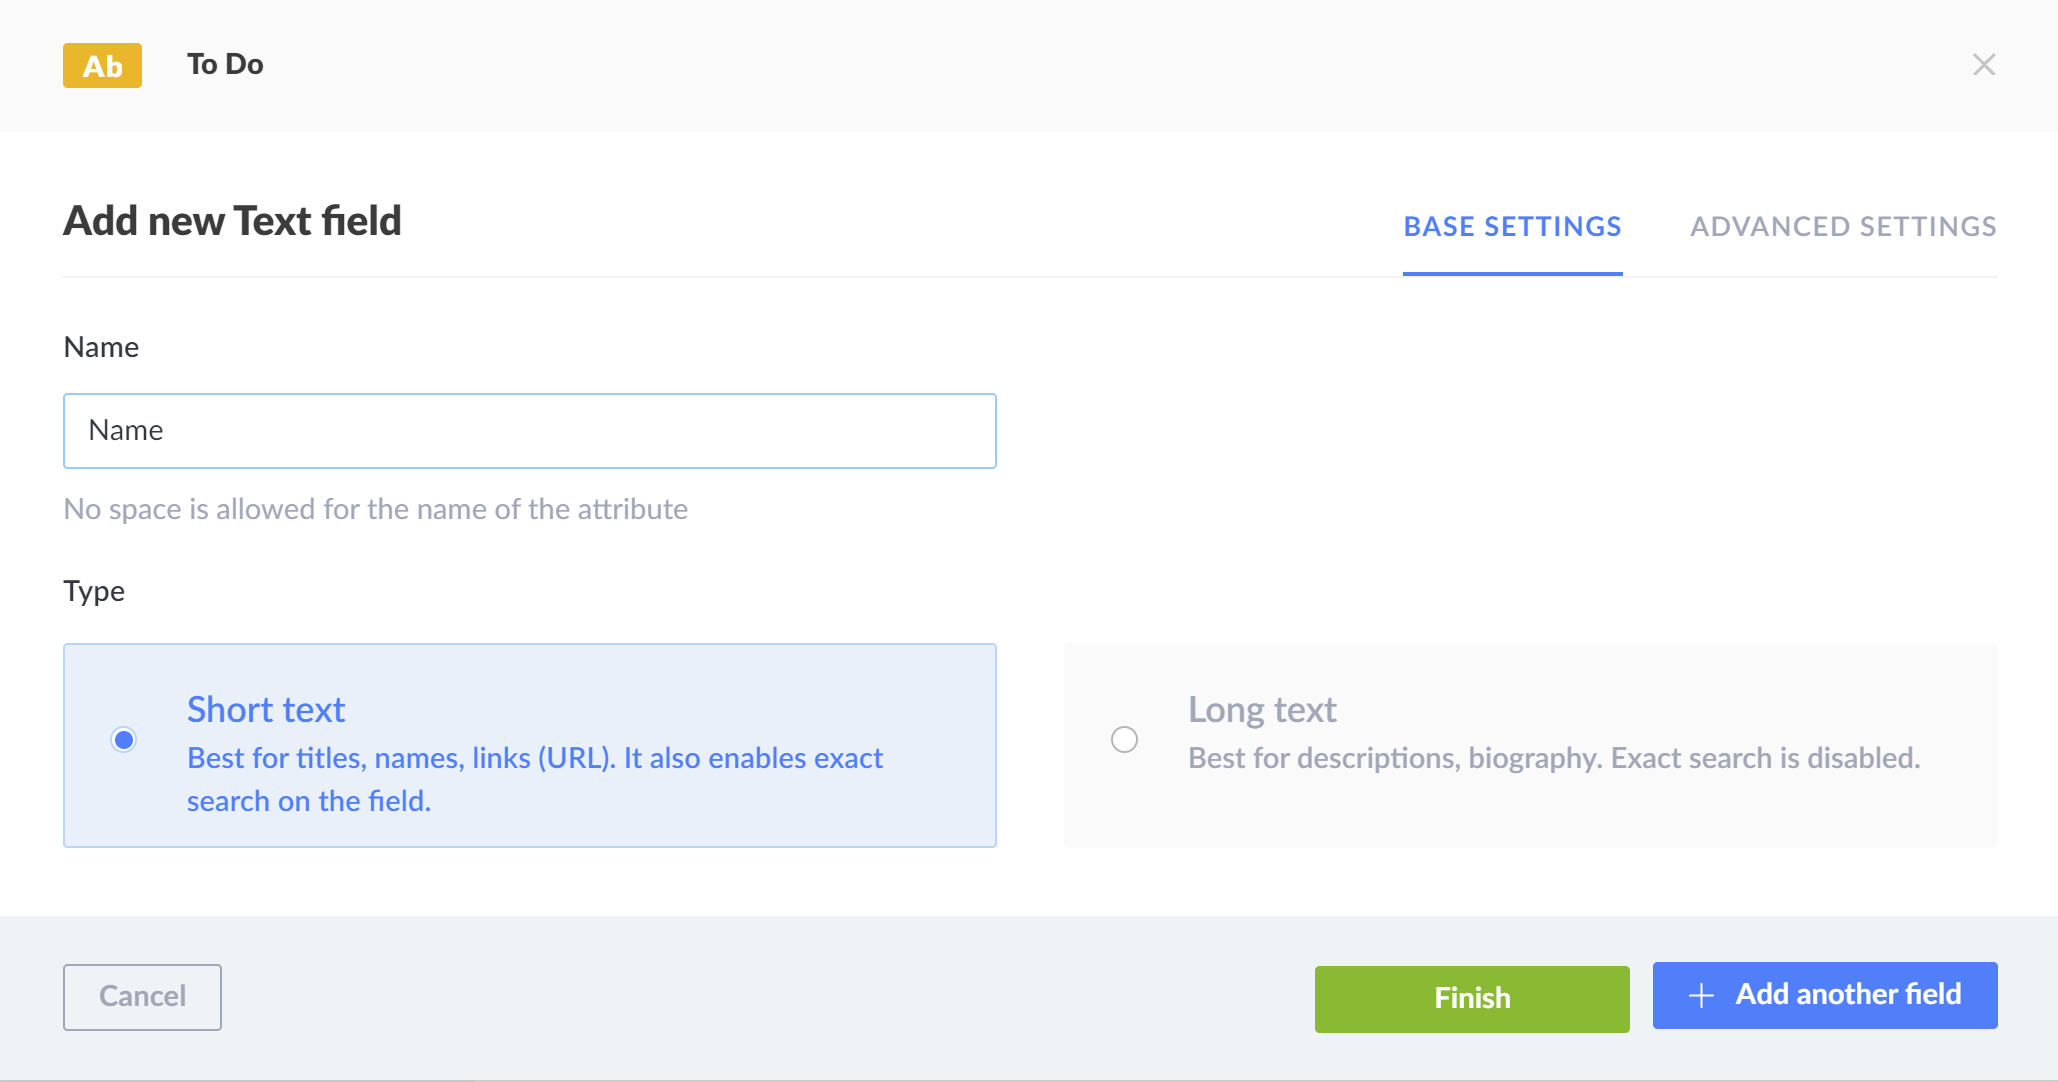
We're not done yet. Let's create a field to capture the progress status of a to-do. Click "Add another field".
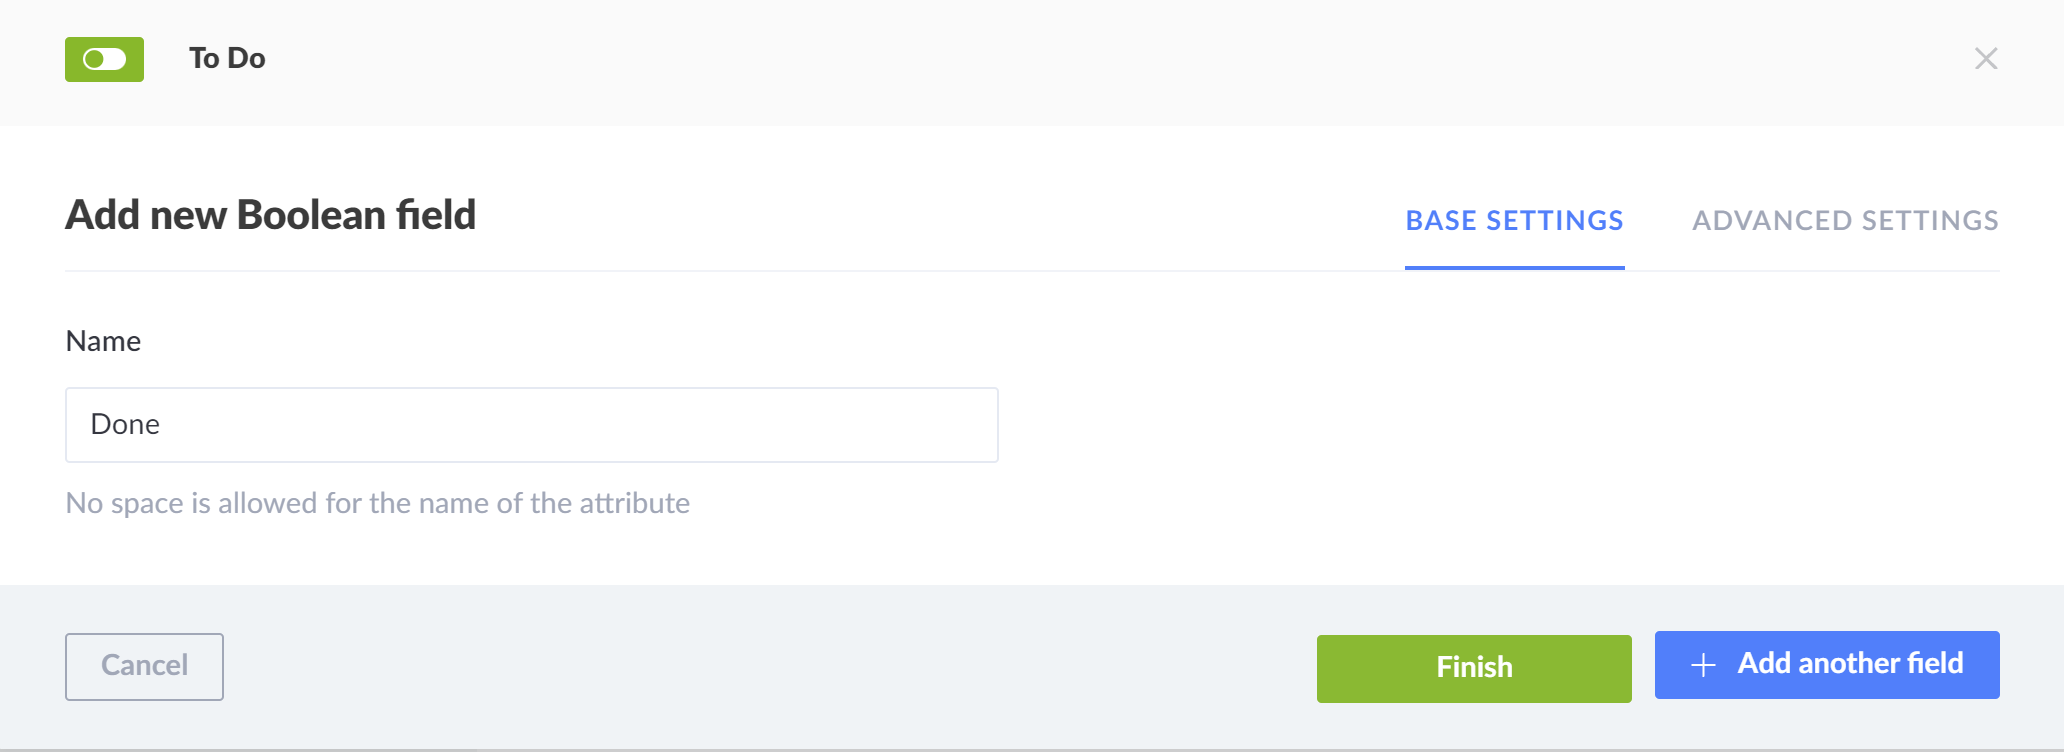
The "Done" field
As a to-do is either done or not done, let's use a Boolean field and call it Done:
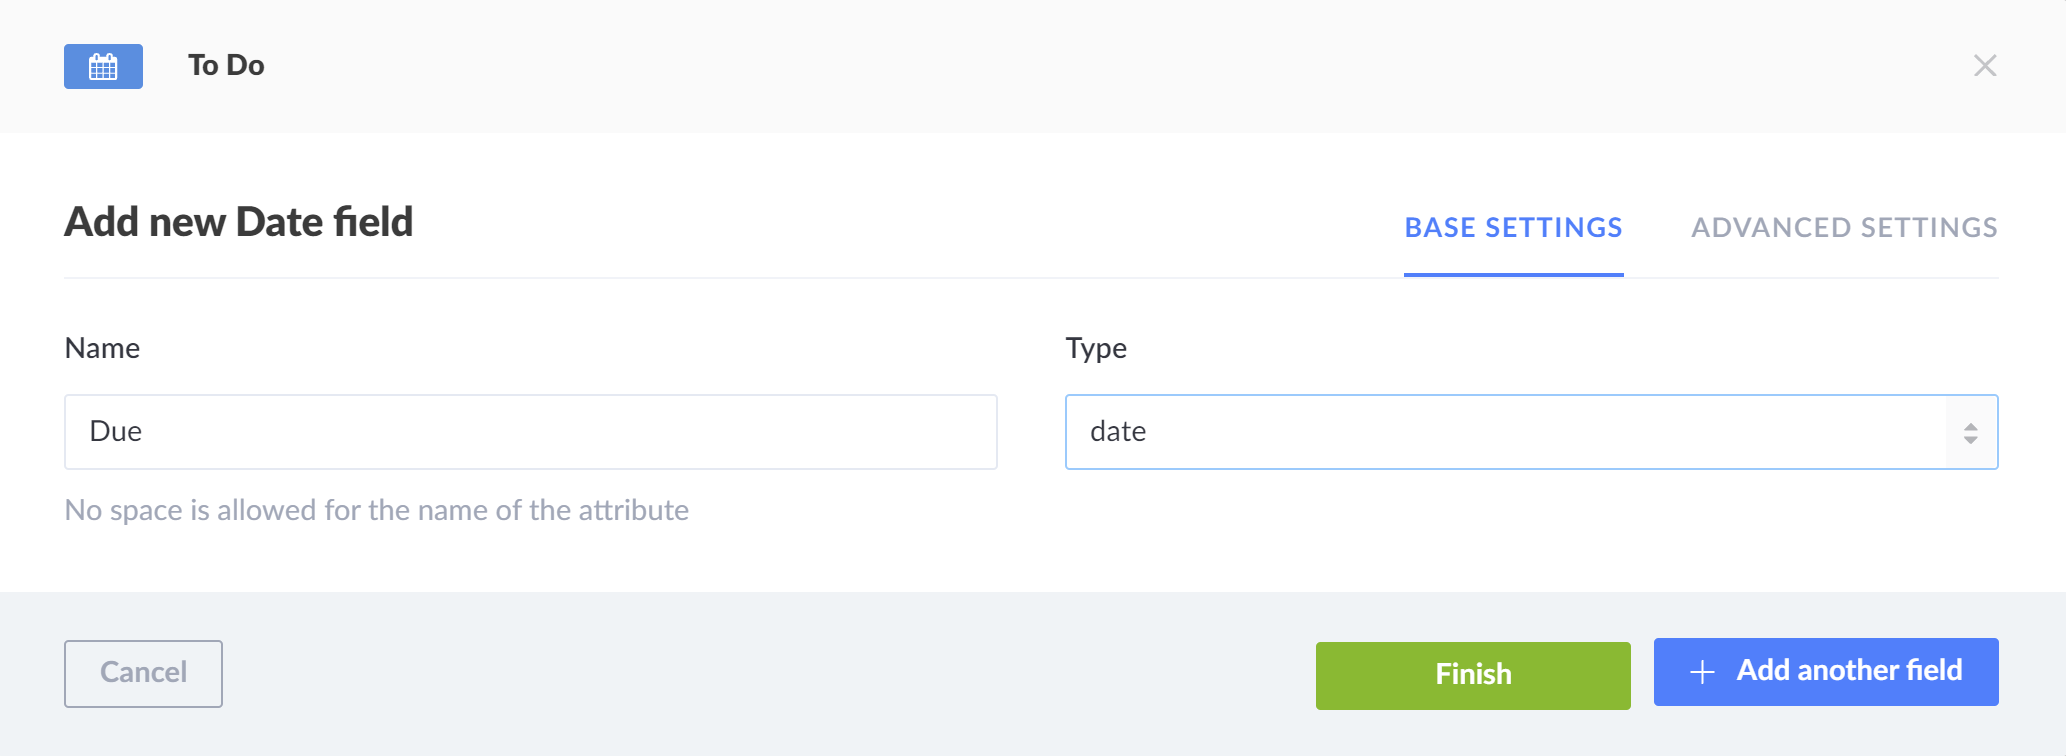
The "Due" field
Now add a field to capture the due date of a to-do. Use a Date field and call it Due:
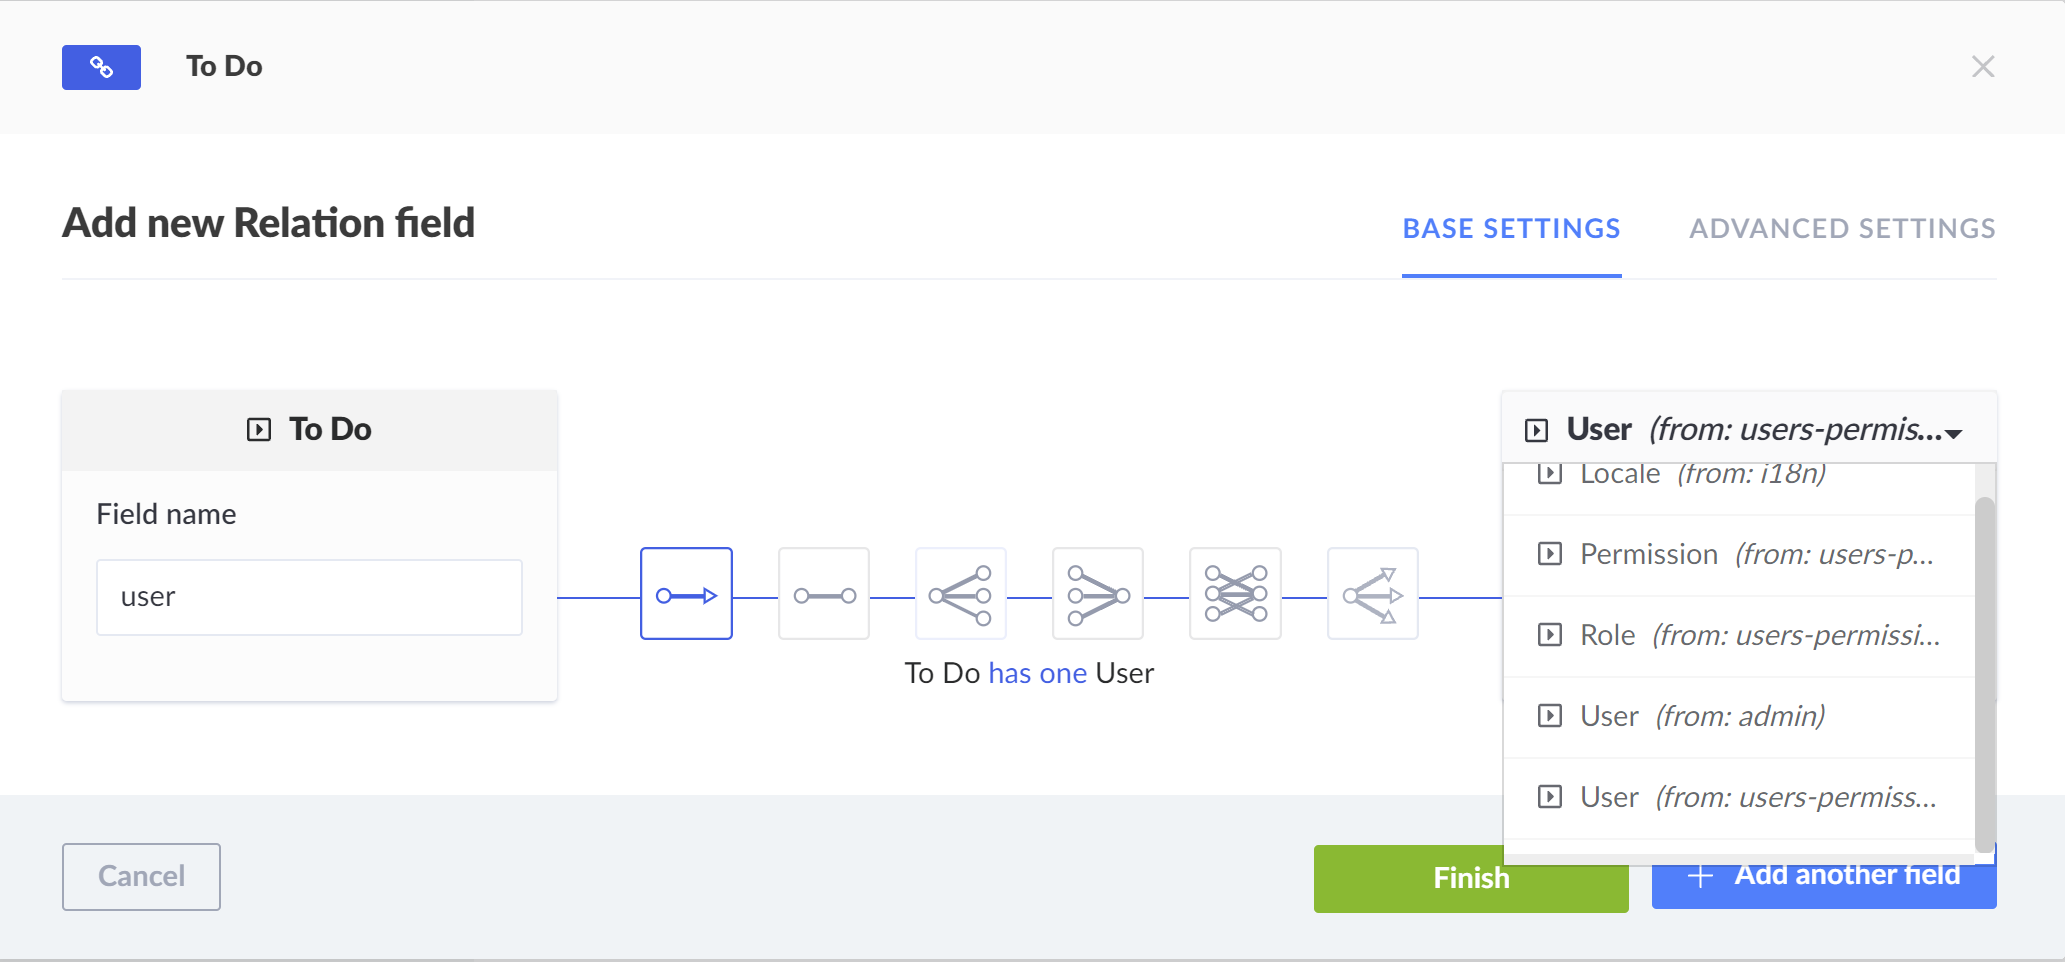
The relationship to a user
To store who is assigned to take care of a to-do, let's add a relationship between the to-do and a user. Add a
relationship to the content model. Make sure to use the user (from: users-permissions) type (the other one
from: admin is for admin users only).
Call the field name user. Leave the relationship type as-is (To Do has one User).
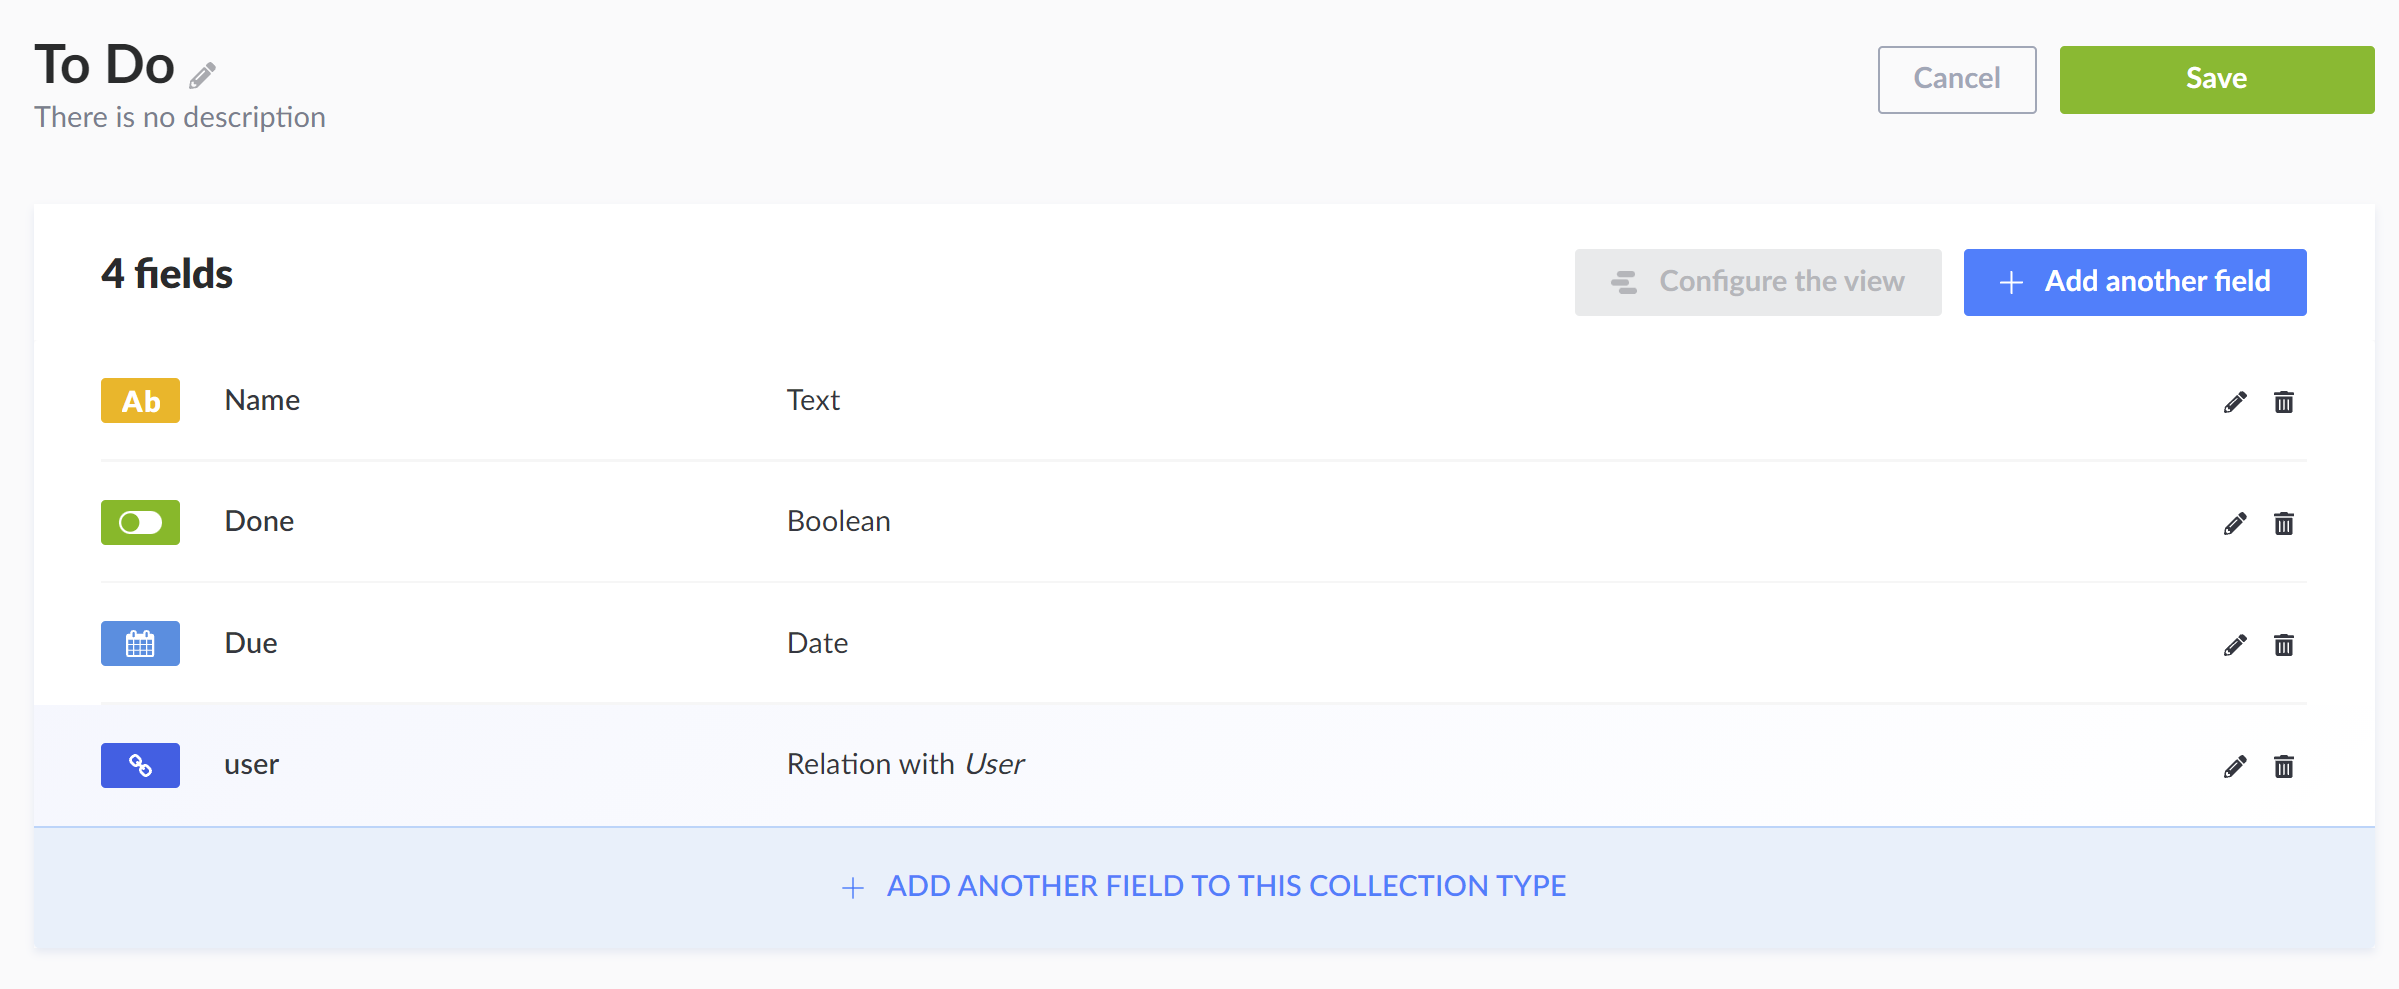
Finish up creating the data model
To finish creating the data model, click... Guess what: The "Finish" button. Strapi will show you an overview of your collection type. Verify that everything is fine and click the "Save" button:
The "User" collection
When you look at the collection list, you'll see that there already is a "User" collection that Strapi created automatically. Check it out to get a feeling for what's stored there. You'll be able to use this collection later to register your users and allow them to authenticate against Strapi.
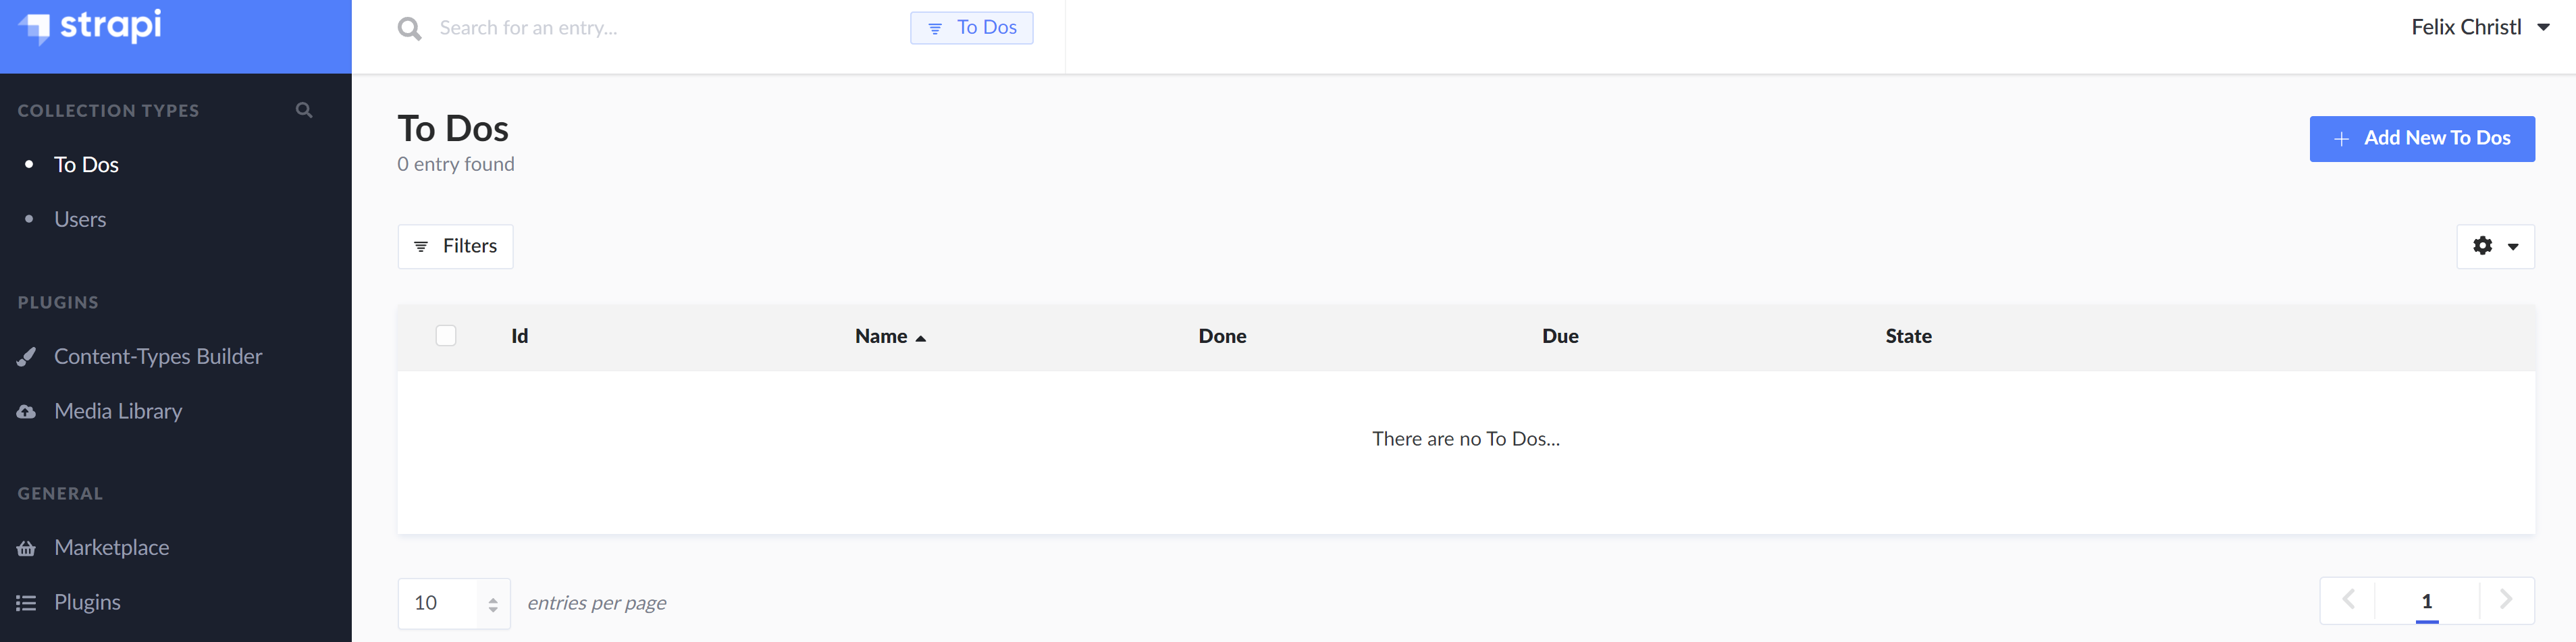
Create the first to-do
Now that we have the data model in place, let's go ahead and create our first to-do:
Start by opening the "To Dos" collection from the sidebar. Click "Add new To Dos":
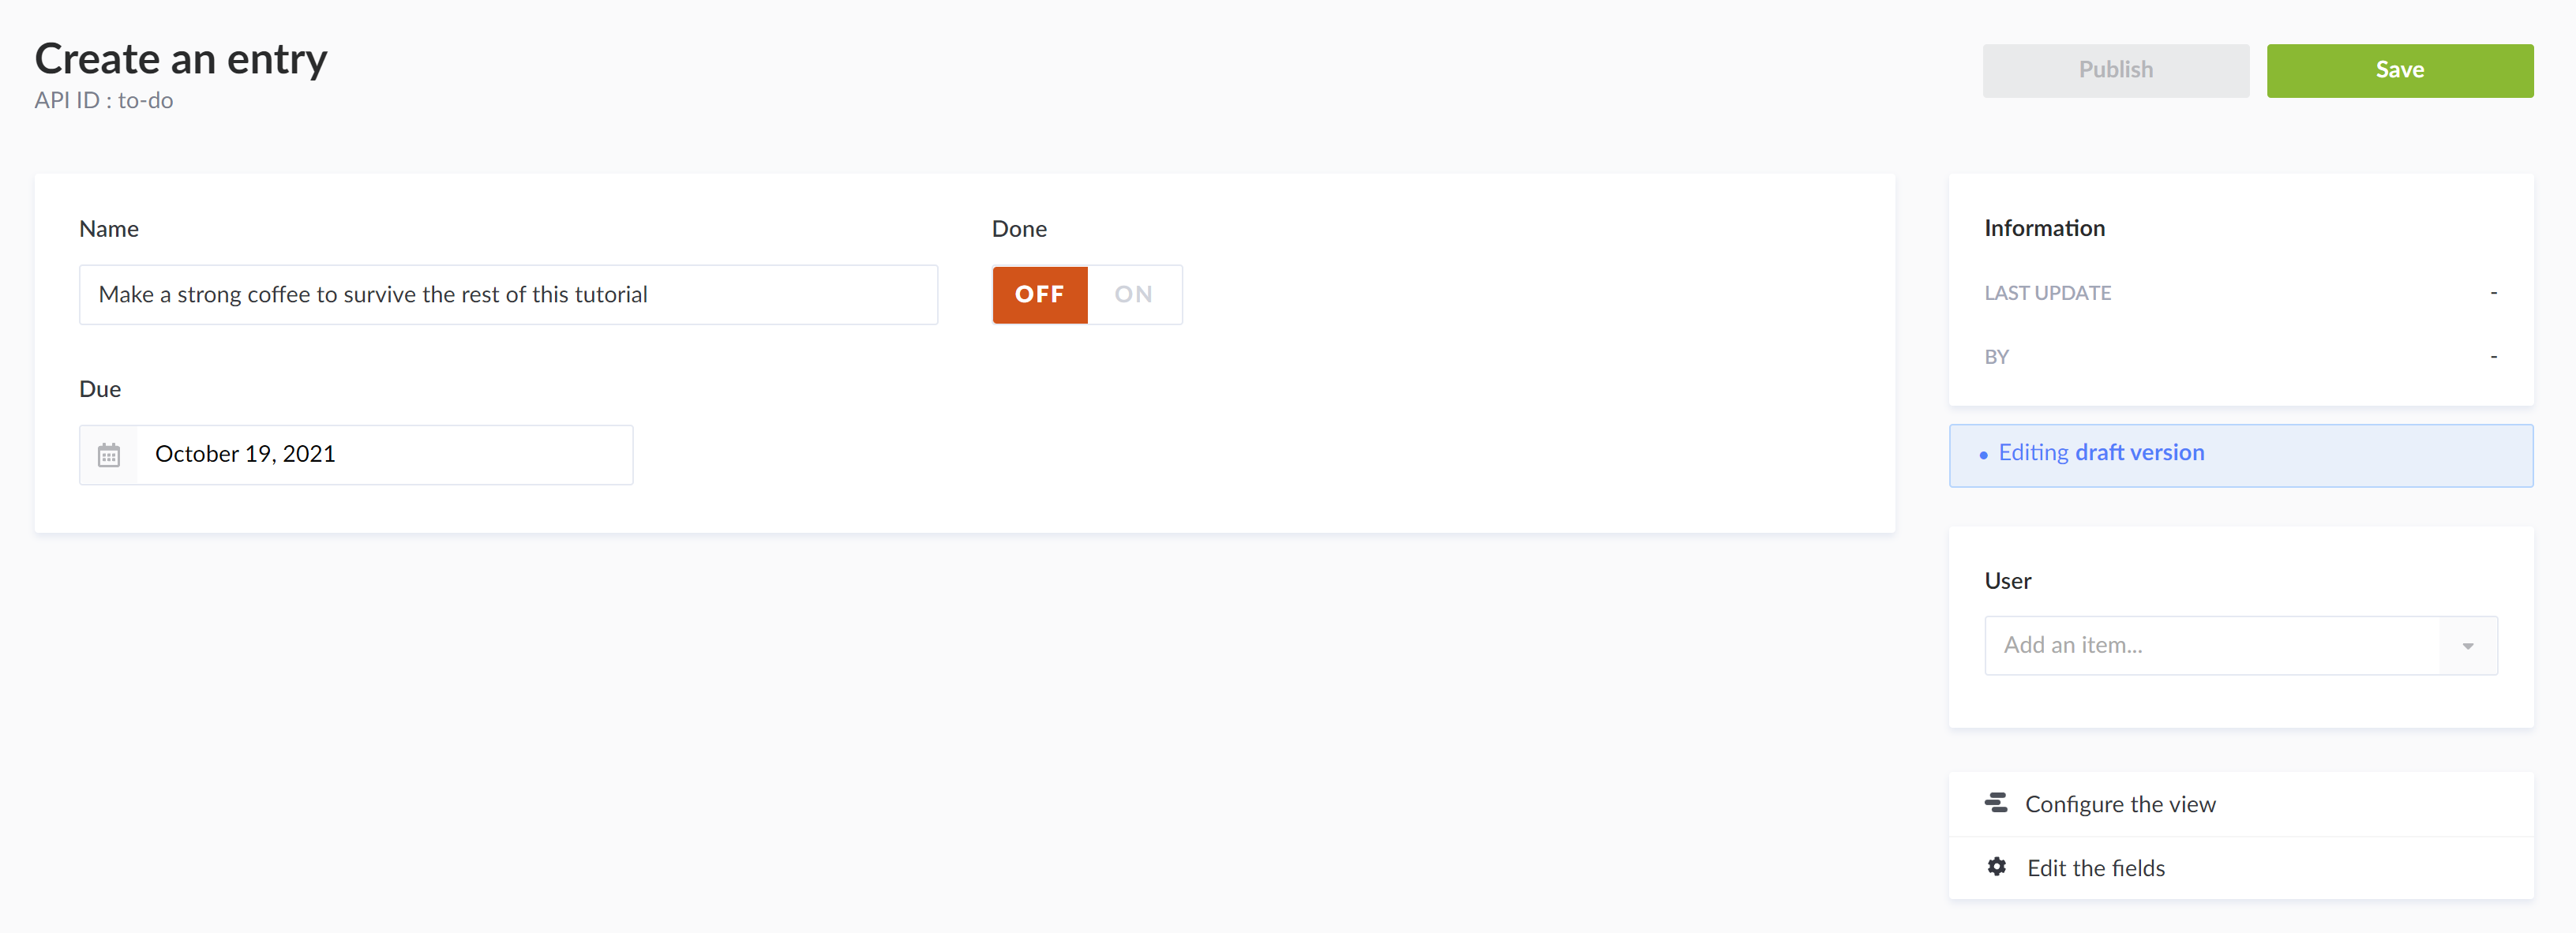
You'll see an empty to-do form. The form is automatically generated from the data model you've defined in the previous steps. Every field you created in the collection type is now editable as part of the form.
Enter some data for your to-do, then click "Save" and then "Publish" (by default, a publishing workflow is enabled in Strapi that can have content either be in draft mode or published. You can later disable this in the collection settings):
Use the REST API to retrieve to-dos
Now that you've defined the content model and created your first to-do, you'll probably want to see how you can work with your to-dos using an API. Strapi automatically generates REST endpoints for each collection type to create, read, update, delete and list the items of a collection.
Let's go ahead and check out our to-do API endpoint: http://localhost:1337/to-dos.
Oops, did you just get a "forbidden" response? Well, that's to be expected. We wouldn't want all our data exposed to the public by default, so Strapi restricts API access in its default settings.
However, we'll want to access our to-dos for our sample use case. Let's allow reading to-dos for public (i.e., unauthenticated) users.
Open up access to public
To achieve that, open the settings in the sidebar and then click "Roles" (make sure to pick the one under "Users & Permissions" plugin, not under "Administration Panel", as we want to set the permissions for non-admin users).
Open the "Public" role, then find the panel with "Application" permissions. Here, spot the "To Do" data model. Click "find", which is the endpoint to list all to-dos. See how on the right it shows the corresponding API route.
Now click the checkbox next to "find" and hit "save": 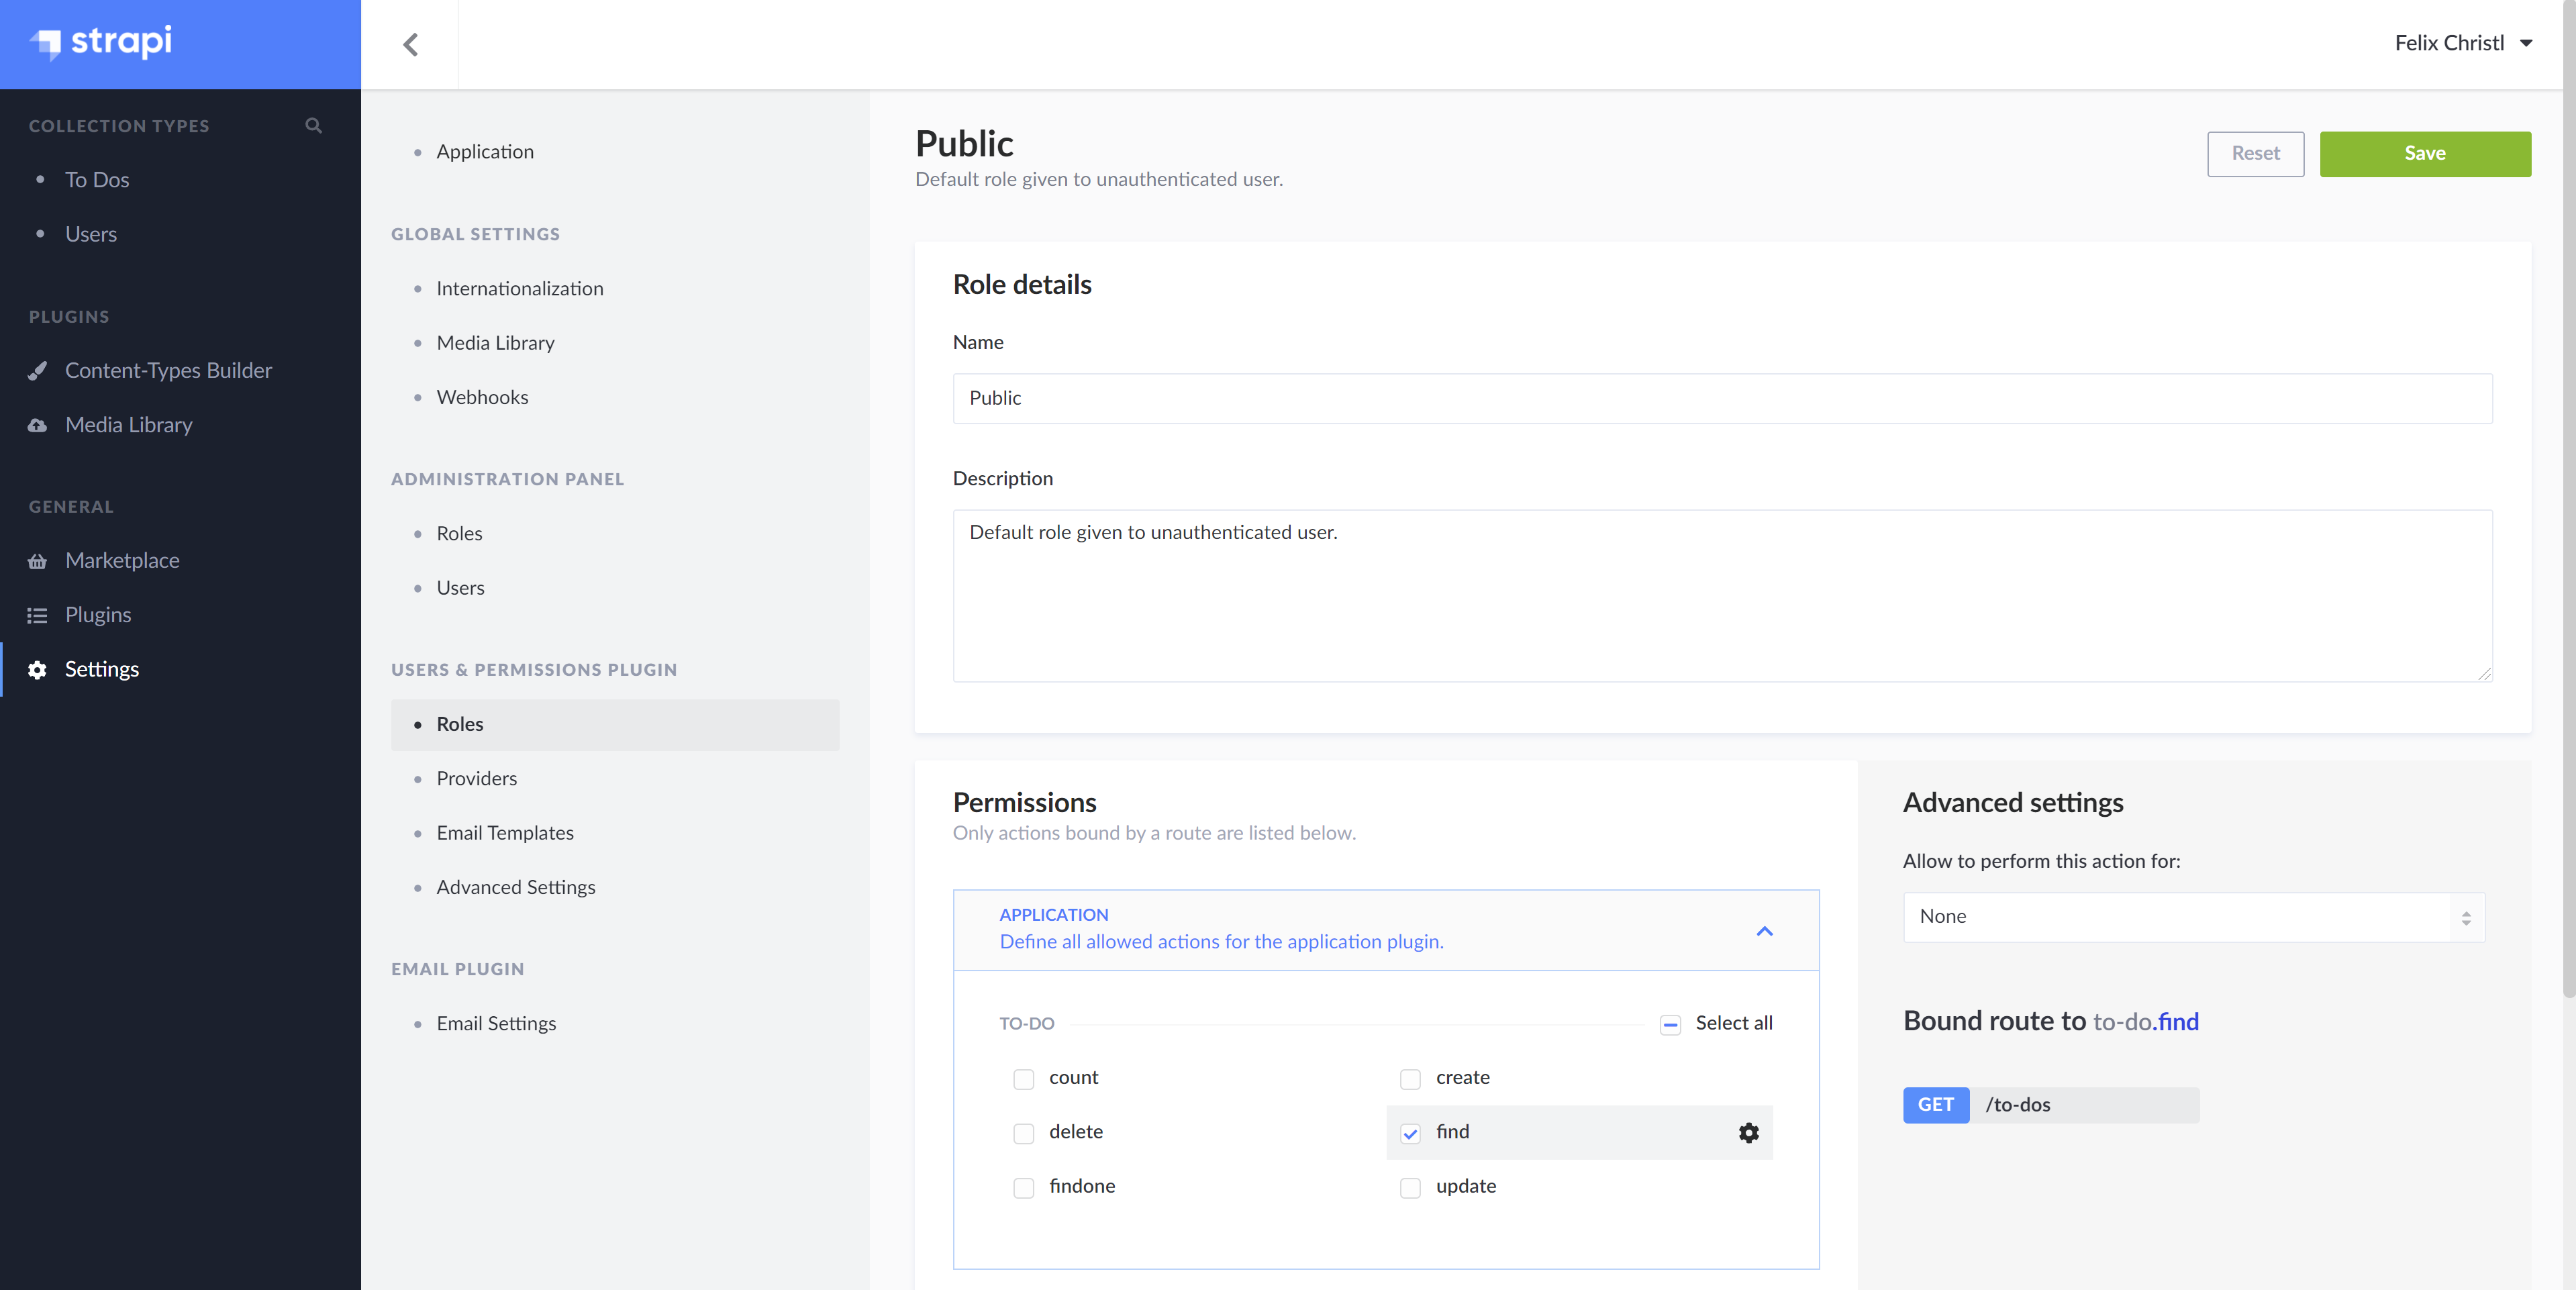
Do the same for "update".
You now opened the /to-dos API route for public. This obviously isn't something you want to-do for production
environments, but for our testing purposes here we'll go ahead like this.
Try to open the API endpoint (http://localhost:1337/to-dos again. It now should show a list of to-dos.
Assign a user to a to-do
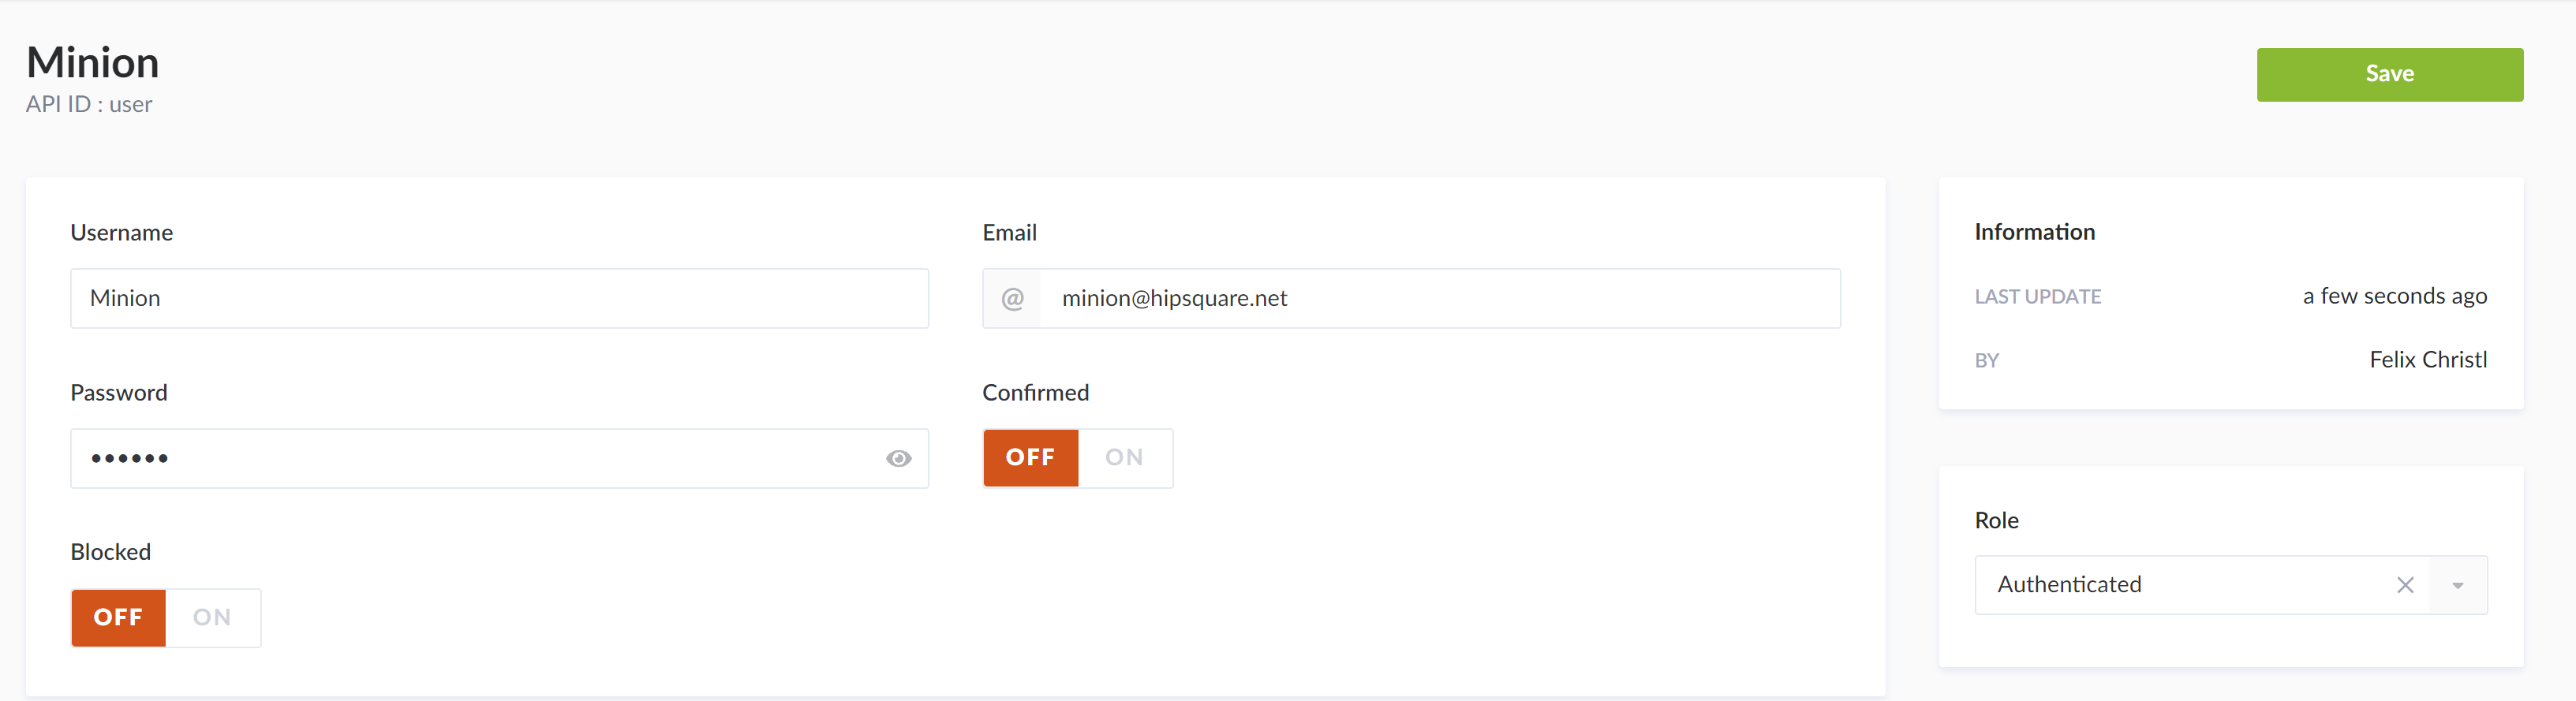
Let's go back and create a user to assign a to-do to:
Open the "Users" collection in the sidebar and click "Add New Users". Enter the required data (username, email and a password) and click "Save":
Now go back to the "To Dos" collection, open the to-do you just created:
On the right-hand side, you find a panel for each relationship defined in the data model. Select your new user for
the "User" relationship: 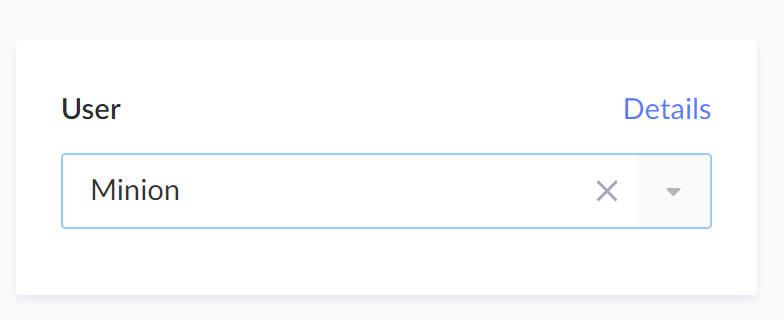
Click "Save".
Now open the to-do API endpoint ((http://localhost:1337/to-dos). See how it now automatically populates the user:
[
  {
    "id": 1,
    "Name": "Make a strong coffee to survive the rest of this tutorial",
    "Done": false,
    "Due": "2021-10-19",
    "user": {
      "id": 1,
      "username": "Minion",
      "email": "minion@hipsquare.net",
      "provider": "local",
      "confirmed": false,
      "blocked": false,
      "role": 1,
      "created_at": "2021-10-17T15:44:28.748Z",
      "updated_at": "2021-10-17T15:45:25.963Z"
    },
    "published_at": "2021-10-17T15:37:59.165Z",
    "created_at": "2021-10-17T15:37:54.761Z",
    "updated_at": "2021-10-17T15:46:23.334Z"
  }
]
Summary
Let's look at what you've achieved today:
- You set up a new Strapi project,
- you configured a data model in Strapi,
- based on that data model, you got API routes, validation, authorization, user management and database set up for free out of the box.
In the next post, we'll use the Strapi-powered API we just created to build a Next.js-based frontend for our to-do app.
To check out the final Strapi project, see our backend repository for this article series.